Painting Tips & Techniques

Purdy Roller and grey paint

Painting Tips & Techniques


 Explore Common Topics

coating a roller with paint
Painting Production Tips
opening a paint can
How to Prep for Painting
painting supplies
DIY Project How-Tos    
using a paint brush
How to Use a Paintbrush
using a paint roller
How to Use a Paint Roller

Proper prep is essential for a great finish and it can be a tough and time-consuming task. Luckily, Purdy® has an entire line of premium prep tools designed to make the process easier and faster.

Hard-working, durable Purdy prep tools include knives, scrapers and multi-use tools with no-slip comfort grips for precise control. Change prep for the better with high-quality Purdy prep tools.

Start by dipping the brush halfway into the paint. Then gently tap it on the inside of the bucket and begin to apply.

You’ll get smooth coverage with fewer brush marks and breaks in the cut line when you paint longer, full strokes. If you’re painting in bathrooms, on six-panel doors, in closets and similar areas, a shorter stroke is your only option and works great. Watch more Pro brushing techniques here.

Pick the right brush for the type of finish, surface and job you’re working with and you’re well on the way to a great finish. Purdy has eleven different categories of brushes so you’ll find the right applicator for every kind of job. Brush marks are probably the most common problem painters encounter. They usually happen when too much paint is put on the brush to begin with or the brush has been run too far before being dipped back into the bucket. Too much paint per dip is often the cause of runs and sags too. Watch Pro brushing techniques here.

“Cutting in” is the art of drawing a straight line, separating two colors using only the paint brush — no masking tape or other aid. You often see it at the edge where a wall color is cut into a different ceiling color. When cutting in, follow these simple rules: Use a fully loaded brush. Using the brush parallel to the area to be cut, let the paint brush open up into a semi-oval and bring it into the line you are cutting. Follow the line until the line of paint begins to break up. When cutting in, breathing out or holding your breath makes it easier to maintain a straight and consistent cut line as you paint. See how to cut-in like a pro here.

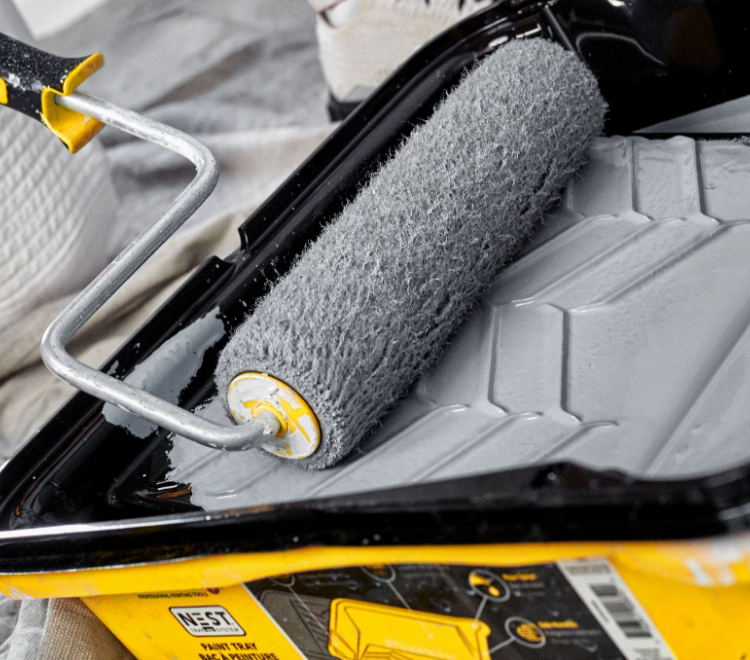
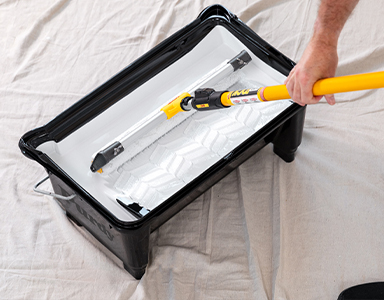
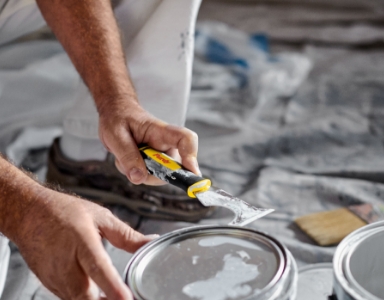
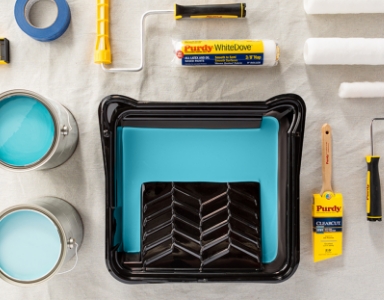
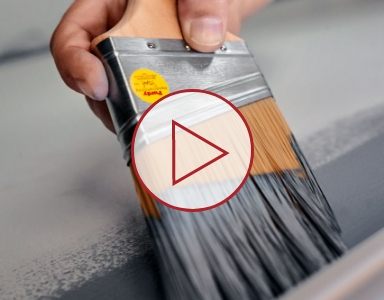
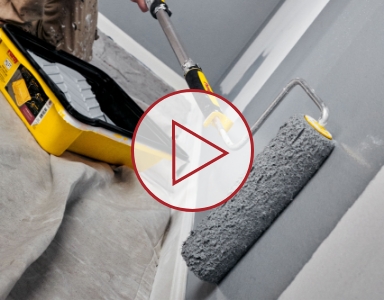
Maximize your touch up skills to minimize having to repaint a whole wall. Your goal is to achieve a nearly invisible “fix” … and there are ways to get that done. It’s important to apply touch-up paint using the same technique as the original application, if possible, to avoid having any difference in sheen or texture. Be sure to use paint from the original batch and under similar temperature and humidity conditions, as well. Repair the defects first. Then scuff sand the space around the patched area and apply a drywall primer. For painting, apply a thin coat, reducing some of the original paint by about 25 percent. Then apply the paint to the center of the patched area, using the original application method, and work it away from the patch. By feathering the touch-up out from the patch, the difference in film build and appearance should be minimal, since you will be blending it into the surrounding areas. If the repaired areas are still noticeable, you may have to paint the entire wall.

You don’t want to underload or overload your roller. Start by going easy on the paint you put in the tray. The tray should never be more than one-third full. Next, be sure to load the entire surface of your roller cover with paint. Do this by rolling it slowly down the tray into the paint, then back - several times - letting the roller cover absorb the paint. Keep a wet edge on your roller, but don’t let it drip. See how to load a roller here.

For a perfect finish, never run the paint roller cover dry and always be sure to paint with a wet edge. To help reduce lap marks, use an extension pole and paint walls from the top down, rolling an “N” in a three-foot square. Then, fill in between the gaps, blending into your initial strokes as you go. Always work from the unpainted into the painted surface. When you start on another area, repeat this process. See how to roll like a Pro here.

Purdy makes roller covers that hold a lot of paint but when you notice the cover looking dry it’s time to redip. To reduce re-dipping, choose knitted roller covers designed for high productivity. Find knitted roller covers here.

Did we Miss a Question?

Give us a call: Customer Service (800) 547-0780 Or send your question below.

FAQs

Looking for help with something you don’t see covered here? You’ll find additional useful information in our Frequently Asked Questions section.